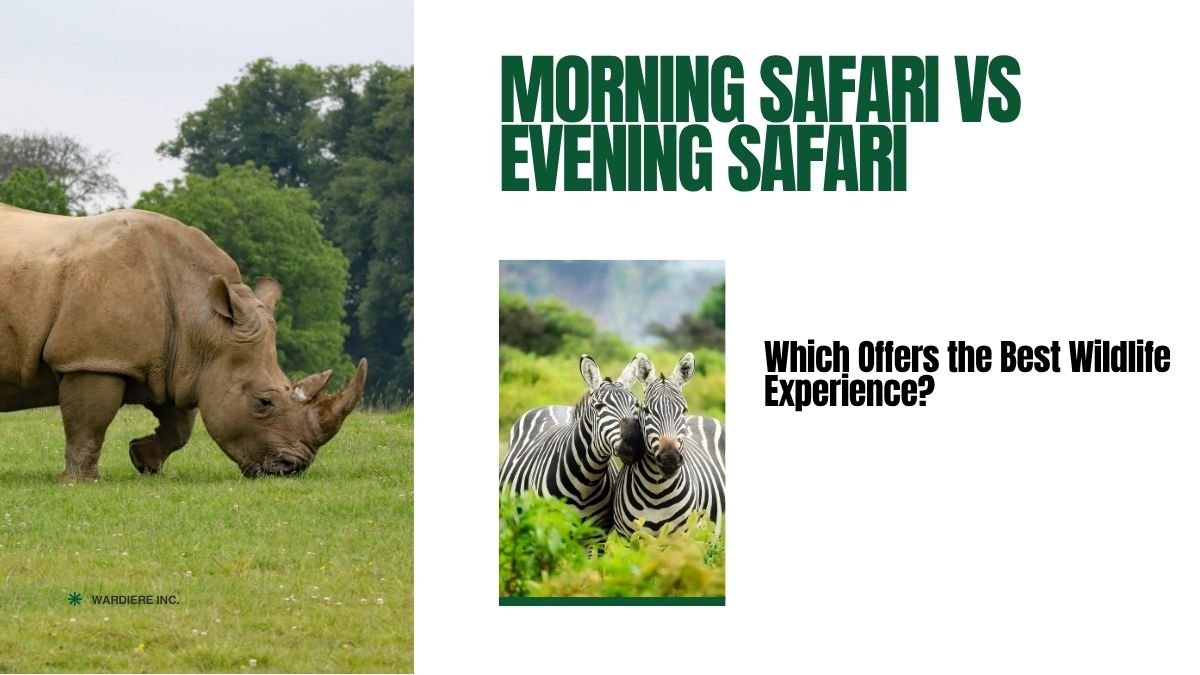
How to Start Wildlife Photography – The Easy and Complete Guide
Wildlife photography could be a very good hobby if you love the outdoors and want to capture animals in its permanence on camera. Just thinking that it is easy to lift the camera up and click away is an unformed perception of the art. It requires extensive practice, respect for nature, and some knowledge of the right technique.
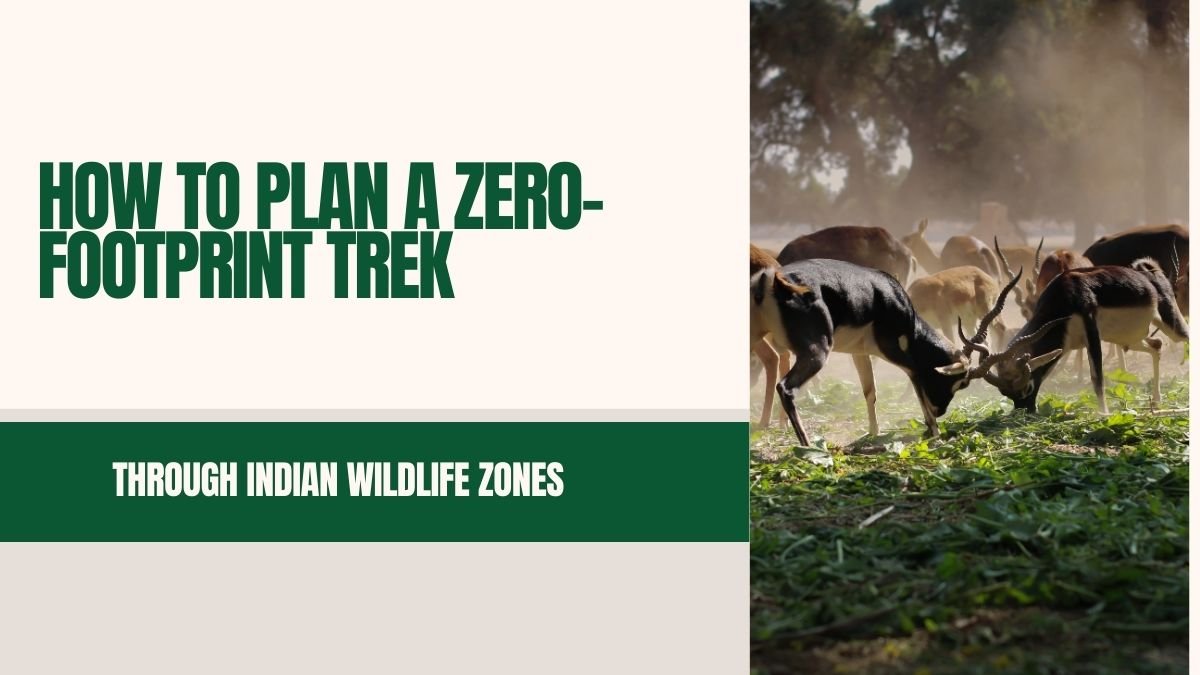
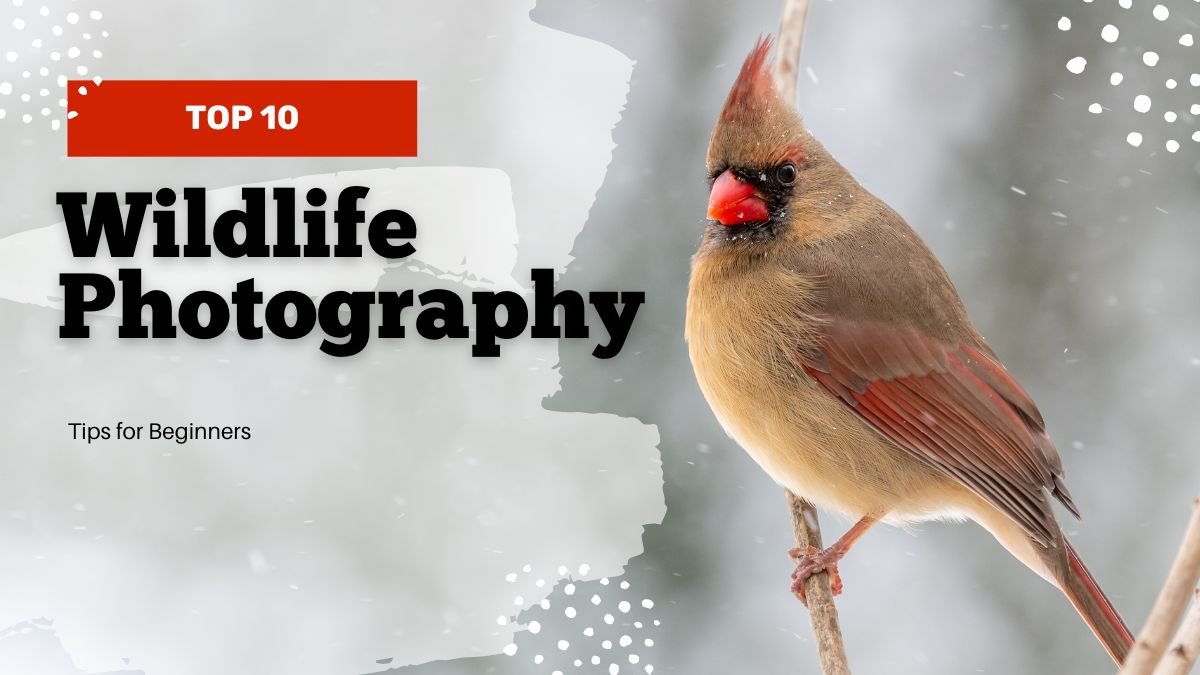
Most people do think of wildlife photography as photographing big trams like tigers and elephants. But the truth is it spans from birds to tiny insects. Enjoying every bit of the experience comes with an understanding of the animal’s behavior with respect to its environment rather than just clicking away.
So what follows is a detailed breakdown for the budding wildlife photographer as to where and how to start.
First – Ethics, Patience and Observation
1. Ethics are paramount
Real photography should come from a standpoint of minimal disturbance to the wild animal or bird.
- Avoid taking photographs near nesting birds or animals with their babies.
- Do not approach the subject with loud noises or flash, risking scaring it away.
- Most important: getting the shot is not paramount; the safety of the animal is.
For example: You are about to take a picture of a squirrel in your backyard, and when it sees you, it runs away. It would be best if you just waited until it relaxed back into its behavior pattern; disturbing it or its movements would not be ethical.
2. Patience
Wildlife will never come on cue. You have to wait and watch them for a long while. At times even after hours of waiting, you may not get a decent picture. But that patience will definitely reward you with some fantastic shots.
3. Observation
Diligently observe animal behavior.
- When do the animals come to drink water?
- When are birds most active?
- When does the sunlight create the most beautiful ambiance?
Only by understanding all of this will you be able to click when it matters.
Preparation before going out
1. Know your subject
Get information about the animal or bird that you want to photograph.
- Read books.
- Watch documentaries.
- Ask a local guide.
If you are interested in birds, try first to photograph the birds around your house. Only when that is readily done can you start out after larger animals.
2. Handle the camera well
Photography is so much more than just pressing the button.
- Get used to ISO, aperture and shutter speed.
- Become comfortable enough to make these adjustments without taking your eye from the viewfinder. Because in the jungle, a missed second is going to be lost to a golden picture.
Example: If deer are suddenly running in front of you and you are slow to change your shutter speed, your photo is going to end up blurry.
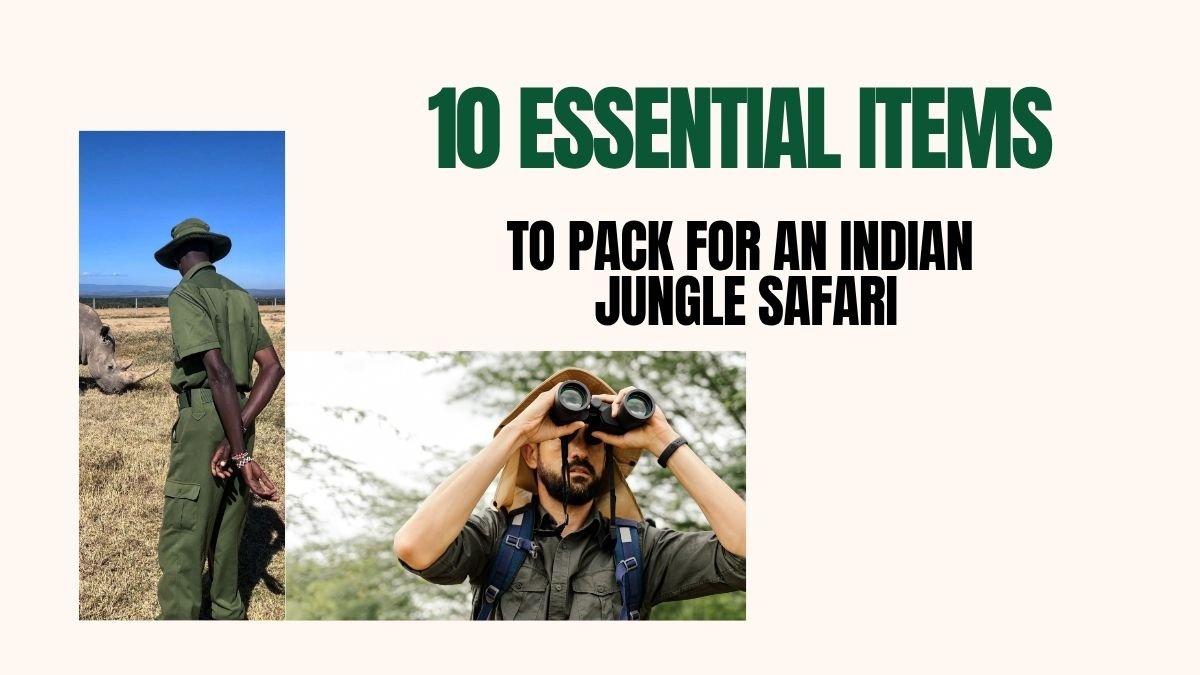
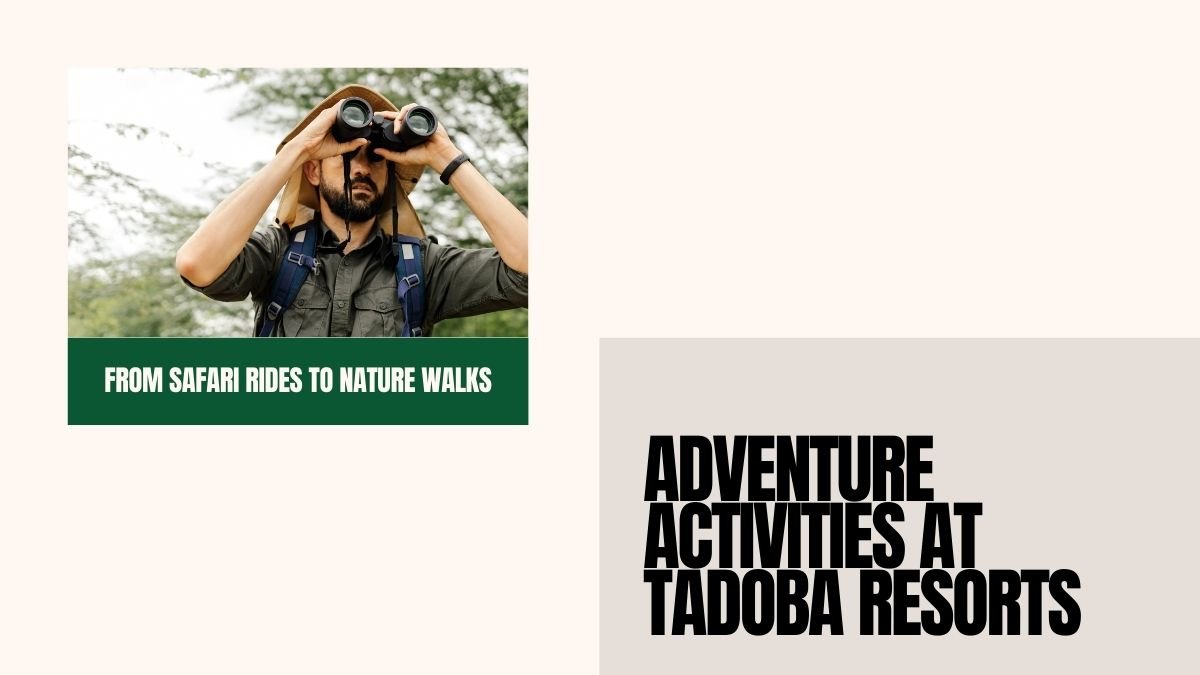
3. Get the right gear
During the start, you don’t need an expensive camera, but the right kit is vital.
- Telephoto Lens (200mm or more): to closely view the animal from a distance.
- Tripod: readily useful for birds or still shots.
- A comfortable bag: so that your camera and lens are safe.
While shooting
1. Patience and observation
- First look for the animal before you shoot.
- If a bird keeps coming back to the same branch over and over again, keep your camera pointing that way.
- If a troop of monkeys is playing on trees, just wait for something interesting to develop.
2. Shoot in the golden hour
- Best is at dawn and dusk.
- In the hour after sunrise, sunlight is soft and golden.
- In the hour before sunset, shadows are long and attractive.
- Also, animals are the most active during these times.
3. Use fast shutter speed
A fast shutter speed is needed for the photographs of a moving animal.
- For slow moving animals, 1/500 sec should suffice.
- For running or flying animals, 1/1000 sec or faster.
4. Maintain the aperture
If you want a nicely blurred background with the animal being the main subject and in focus, go for a wide aperture (small f-stop means f/2.8 or f/4).
This is what will make the shot look professional.
5. Keep an eye on the eyes
The eyes of the beast are its soul. If eyes are visible, the picture is alive.
For example: While photographing the owl, its big beautiful eyes should be in focus. Anything less will simply not be attractive.
6. Shoot from eye level
Bring the camera to the level of the animal.
- If you have a squirrel on the ground, stoop down and shoot.
- If you have a bird high up in a tree, raise the camera.
This gives a very personal and natural touch to your picture.
7. Keep your background clean
Try not to have trees, wires, or people in the background.
A plain and bare background puts the focus on the animal.
Sometimes just changing the angle by moving your position will do wonders.
Other important points
1. Safety first
Whenever you are in the wild shooting, your safety and that of the animal comes first.
Avoid:
- No closer than you can really help.
- No time of getting out of your vehicle.
- Whatever you have been briefed by your guide – always follow.
2. Practice
Start small in your neighborhood.
- That would be garden birds.
- Street cows, dogs, or cats would be next.
- Pond ducks and geese should follow.
That’s when you will gradually reach the jungle and bigger animals.
3. Tell a story
Rather than merely snapping an image, show some behaviors that tell the animal’s story.
- Female monkey grooming her toddler.
- Doe drinking water.
- Bird building a nest.
Such images are endearing and relate more with people.
Conclusion
Learning wildlife photography is an exercise in patience and dedication. It teaches one not only about camera settings or some tricks but also about becoming sensitive to animals and respecting nature.
Favorite ethics:
- Stay patient and observe.
- Know the camera well, and keep the golden hours in your mind.
- Look out for shutter speed, aperture, and eye contact.
Every picture is a memory, but NOT every memory is a picture. So, treasure your experience in the forest.